Deploying a static Hugo site with NGINX

Many people (such as myself) try to avoid web development as much as humanly possible. I find myself less frustrated staring down 1000 lines of assembly than I do trying to center some text on a website.
In the past, I have used Squarespace and the like to build nice sites for my non tech related projects. This may be an easy “it just works” solution, but for my personal website I wanted to do things myself.
That being said, I don’t have time to spend fiddling with a LAMP stack and making a complicated site when all I really needed was a platform to post and share projects. That’s where Hugo comes in. With Hugo, you can write simple markdown files and dynamically generate a static html based site, like this one.
Prerequisites:⌗
-
Linux OS: I recommend a dedicated system just for hosting if this is going to production. Either a system you aren’t using or a VPS on a provider such as Digital Ocean or Linode.
-
A domain: You can’t really expect to run a website without one. There are plenty of good registrars out there, but I personally like NameCheap because you can host email for your domain without hosting the site itself.
Installing Hugo⌗
Visit the Hugo quickstart guide for distro specific information. I was able to install hugo on my Ubuntu Server system with
sudo apt install hugo
and on Arch with
sudo pacman -Syu hugo
If Hugo is not in your distro’s repositories, you can always download it with the tarball.
Making a quick site⌗
Find a directory where you want to store your site, and run
hugo new site <site name>
where site name is the name of the folder your site will be created in.
Adding a theme⌗
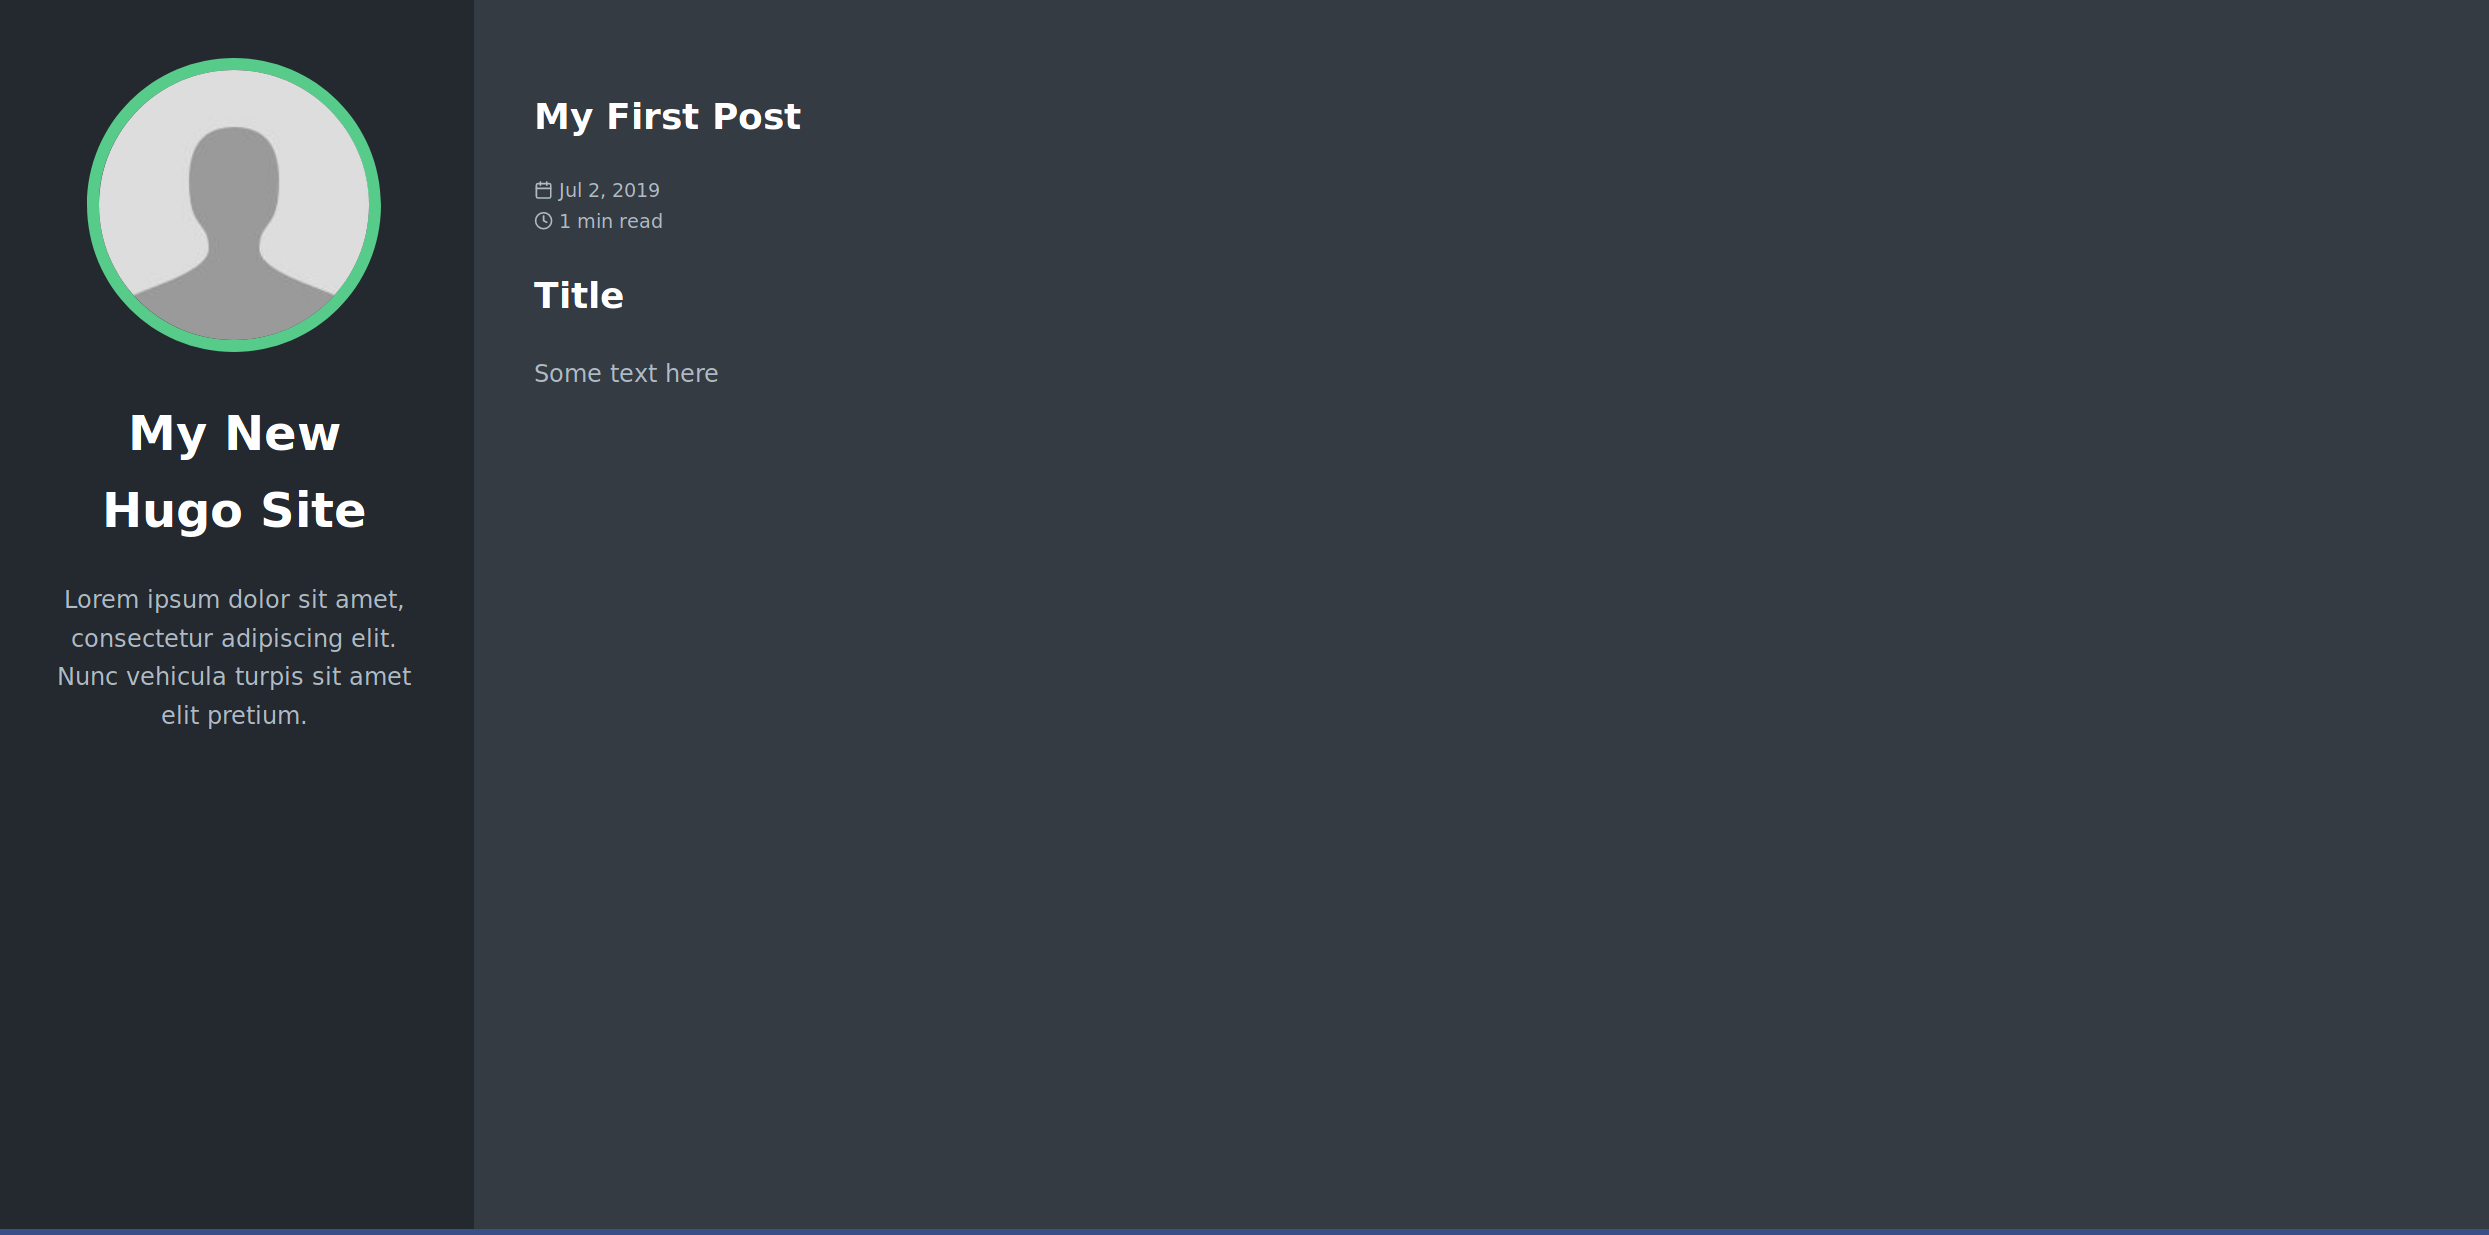
Browse this extensive list of Hugo themes until you find one you like. Find it on github, and simply clone it into your themes directory. Here, I chose the m10c theme.
cd mysite
git clone https://github.com/vaga/hugo-theme-m10c themes/m10c
Then add the following line to your config.toml file in your website’s root folder
theme = "m10c"
Adding a post⌗
To create a new post, simply run
hugo new posts/my-first-post.md
This will create a post called my-first-post in the content/posts folder. Edit this as you please.
Finally, we need to run the site. Change directory into the projects root and run
hugo server -t m10c -D
Finally, visit localhost:1313 to see the site.
Configuring NGINX⌗
Firstly, make sure you have installed NGINX, which is available on pretty much every default repository.
Now we are going to create and edit a configuration file for our site.
cd /etc/nginx/sites-available/
cp default mysite
vim mysite
There are a lot of comments, but your server configuration should look something like this:
server {
       listen 80;
       listen [::]:80;

       server_name mysite.com www.mysite.com;

       root /home/username/mysite/public/; #Absolute path to where your hugo site is
       index index.html; # Hugo generates HTML

       location / {
               try_files $uri $uri/ =404;
       }
}
To enable this site, we need to create a symlink from your site into sites-enabled. Use absolute filepaths to avoid symlink confusion.
sudo rm /etc/nginx/sites-enabled/default
sudo ln -s /etc/nginx/sites-available/mysite /etc/nginx/sites-enabled/mysite
We can run and enable NGINX with the following commands:
sudo systemctl start nginx
sudo systemctl enable nginx
Quick Checks⌗
- Did you set your registrars nameservers to point at the server you’re using to host?
- Did you create A records with your hosting provider to direct requests to the correct server? (add a separate A record for the www subdomain)
Adding SSL⌗
SSL is a must these days, and it’s never been easier to implement. I went with Certbot, because it’s easy to use and hey, who doesn’t love the EFF?
Visit the certbot site to get customized instructions based on your setup, but here is the process for NGINX running on Ubuntu 18.04:
First we add the certbot PPA:
sudo apt-get update
sudo apt-get install software-properties-common
sudo add-apt-repository universe
sudo add-apt-repository ppa:certbot/certbot
sudo apt-get update
Then we install certbot itself
sudo apt-get install certbot python-certbot-nginx
And finally we run the setup script:
sudo certbot --nginx
and go through the steps.
Conclusion⌗
Assuming you have set things up correctly, you should have an easy to use site built by hugo, but running with the powerful NGINX suite.
To update the site, simply write more markdown files and run hugo from the site root to rebuild the site.